DES 499 - Jantar Mantar Reconstruction
As a part of this project course we’re expected to create a physically precise interactive model of the various yantras at Jantar Mantar in Unity. This project is being mentored by Sameer Sahasrabudhe.
- The report for the work done on this project in Sem 1 [AY 2022-23] can be found here.
- All other deliverables can be found here.
1.0 Week - 1
In the first week we were mostly expected to collect reference materials online as well as start working upon rough models of few of the Yantars (need not be physically accurate).
1.1 Reference Materials
- We collected a lot of Reference Materials and listed them here.
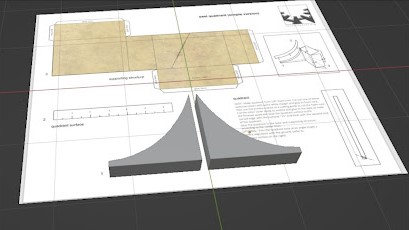
- Although, we couldn’t find any document that depicted the exact dimensions of Jantar Mantar, but we did find a website containing the paper model replica of jantar mantar.
1.2 3D Models
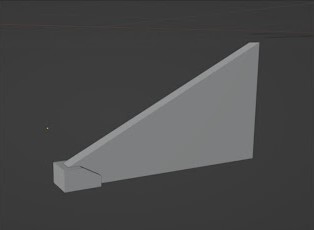
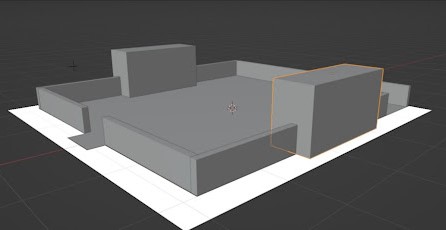
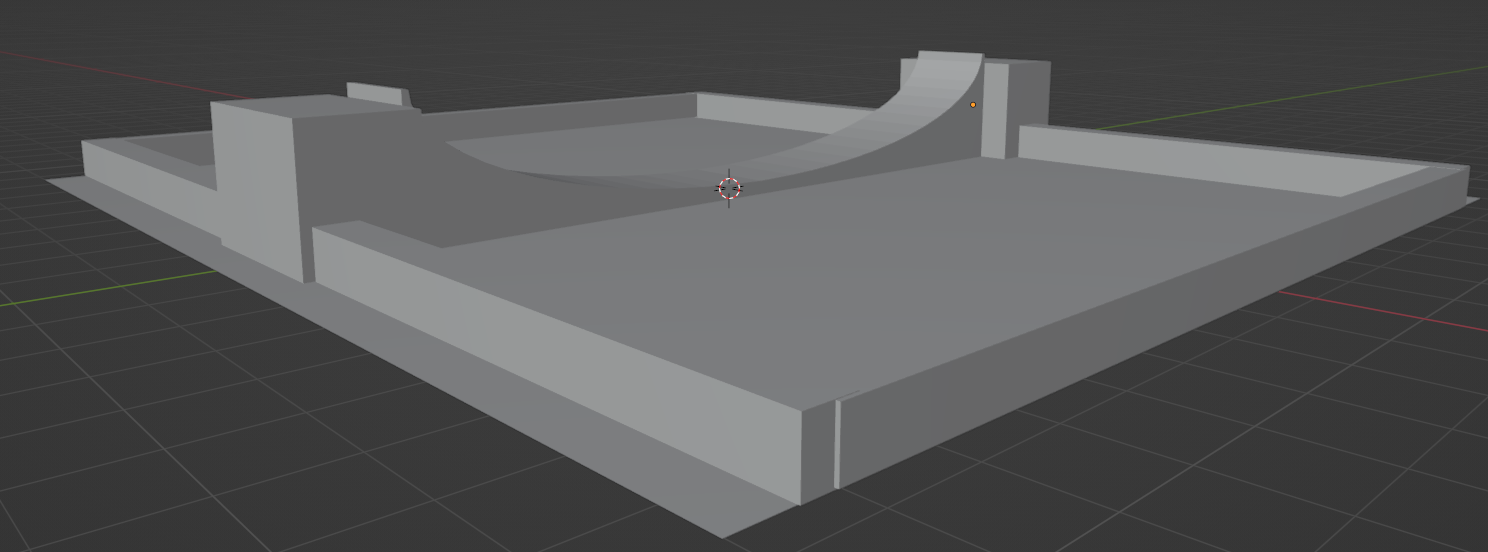
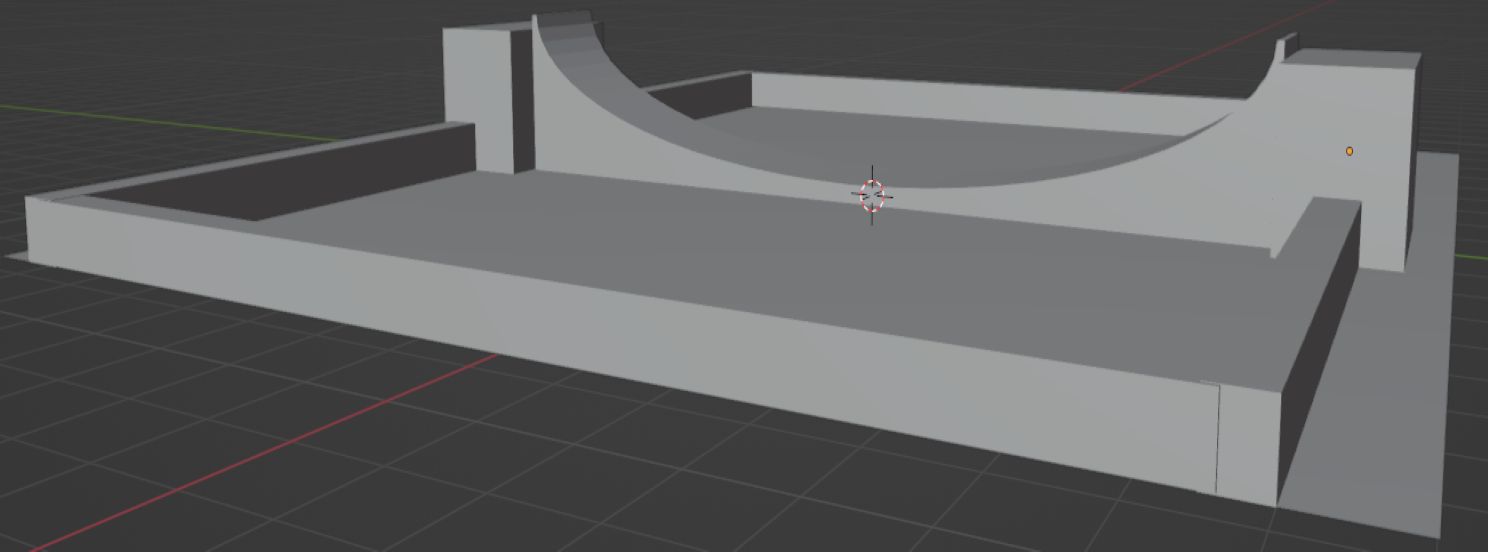
- Then we created rough models of the Samrat Yantra in Blender based on the resources we could procure.
- As the model didn’t take CAD dimensions into account, it sure had some flaws that were pointed by Sameer Sir in our weekly meetings. Especially the fact that the base model wasn’t symmetrical from both the sides.
- We were later expected to come up with dimensionally accurate models based on CAD and paper model replicas that we found
1.3 Day & Night Cycles
My job was to script the day & night cycles in Unity (need not be physically precise initially).
- I used a Procedural Sky shader for skybox as it comes with a sun that mimics the directional light by default.
- Then I bound the directional light’s rotation and intensity, fog color and a clock to the day & night cycle.
2.0 Week - 2
In the next week we were assigned the task to come up with labelled Jantar Mantar Engineering Drawings, paper prototype and 3D models of Jantar Mantar that we obtained online and adding a rough sundial model in Unity to check if the shadows casted by the day & night cycle are working properly.
2.1 Precision CAD modelling
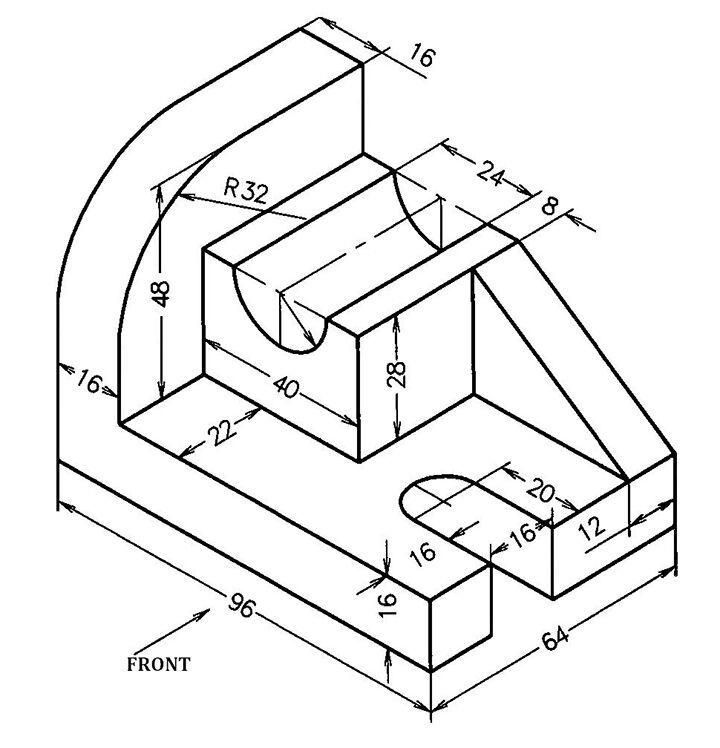
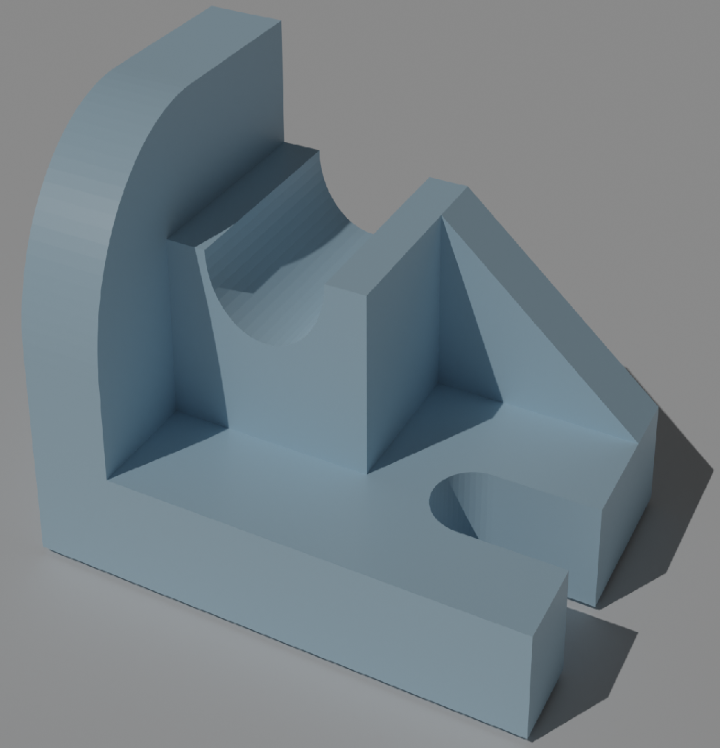
- We were suggested to make accurate CAD model from any random CAD design to learn precision CAD modelling.
- The blend file can be found here.
2.2 Labelling of Engineering Drawings
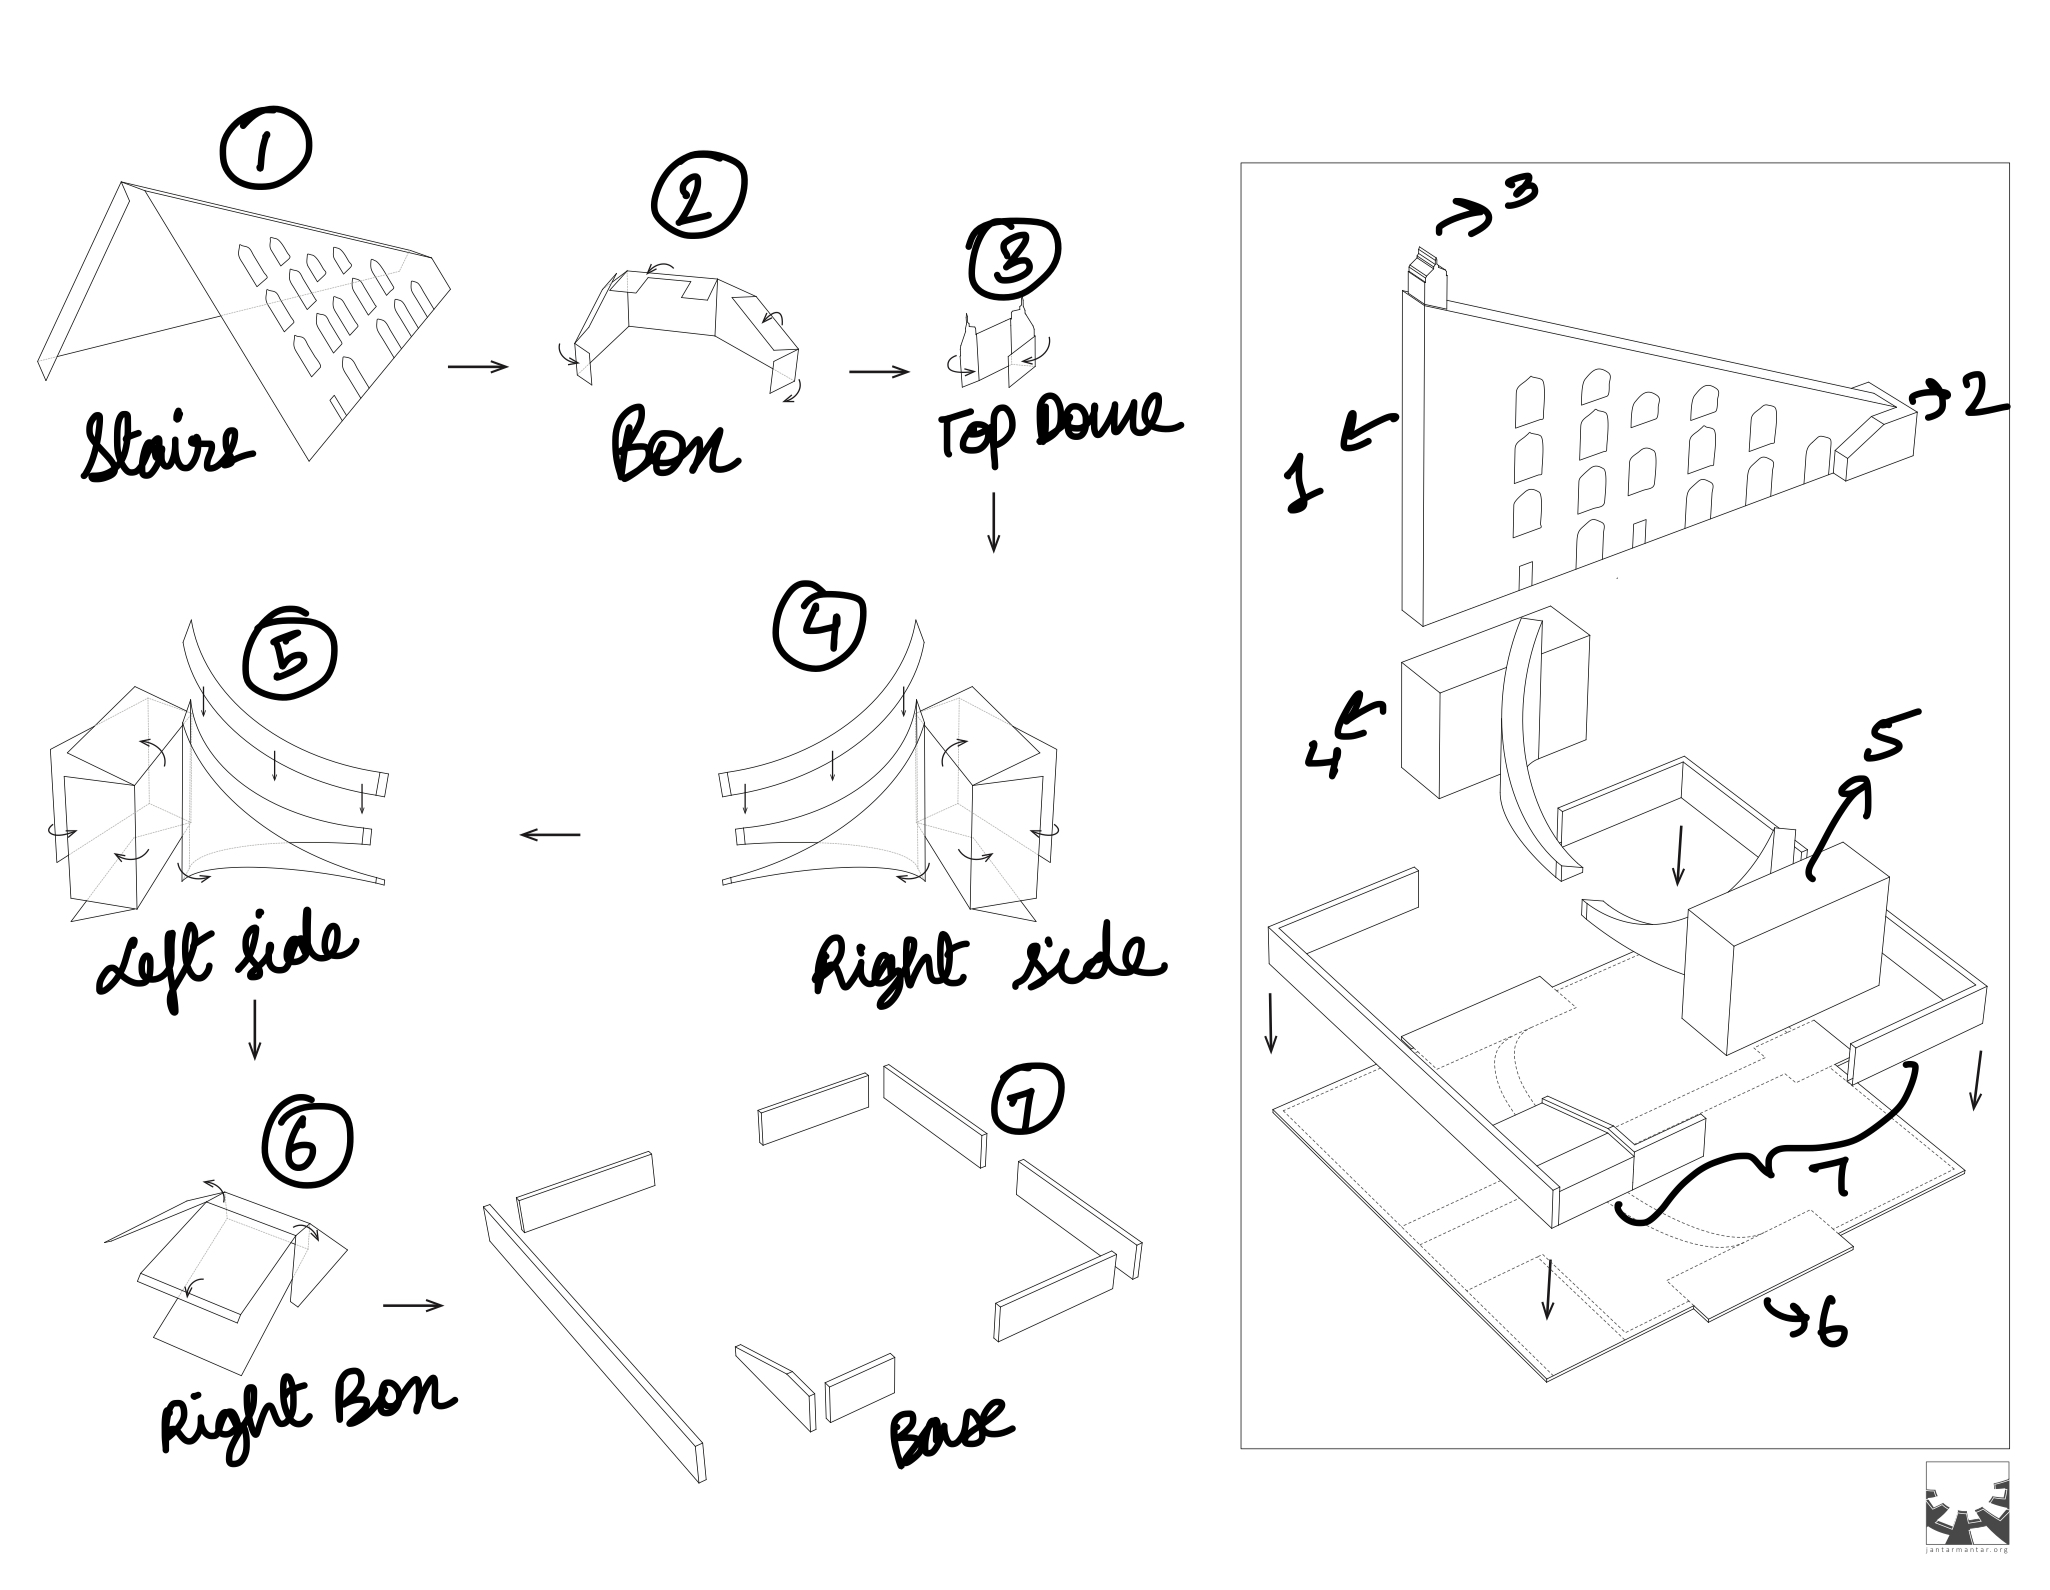
- All the engineering drawings were labeled to make their assembly (for 3D model and paper prototype) easier.
- As we didn’t have a lot of dimensionally accurate references for the Samrat Yantra, so we used online references to manually label each of them individually first and then come up with a rough idea how the model and paper model was to be assembled.
2.3 Making of Paper Prototype
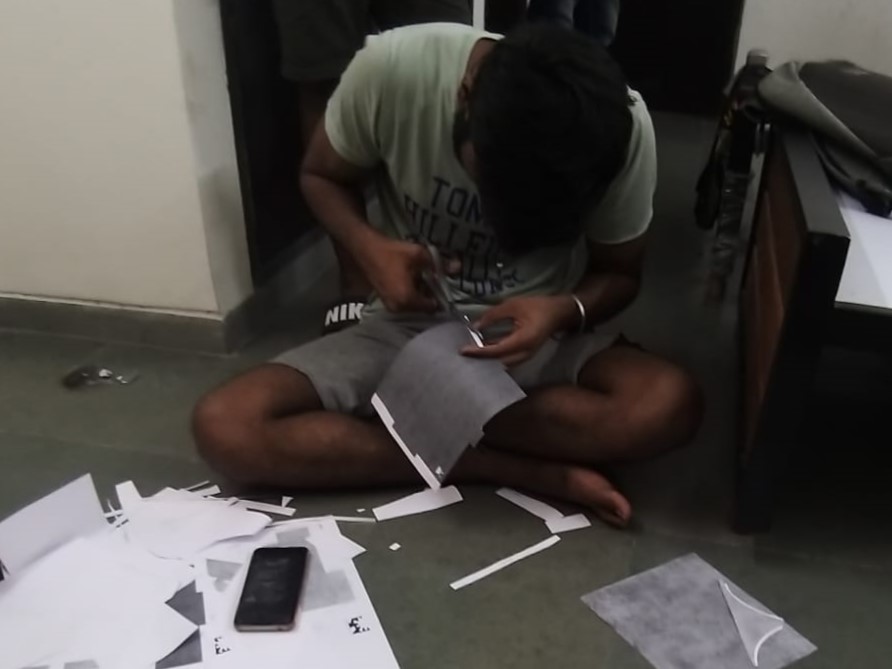
- The engineering drawings after analysis and labelling were converted into a paper prototype for us to visualize.
- The process was fairly simple as these engineering drawings were originally meant for paper prototyping itself. So we had to cut and glue them accordingly.
- The prototypes were dimensionally accurate and represented a scaled down model of Samrat Yantra.
- As the paper was quite thin, the model wasn’t structurally intact.
2.4 Shadows in Unity
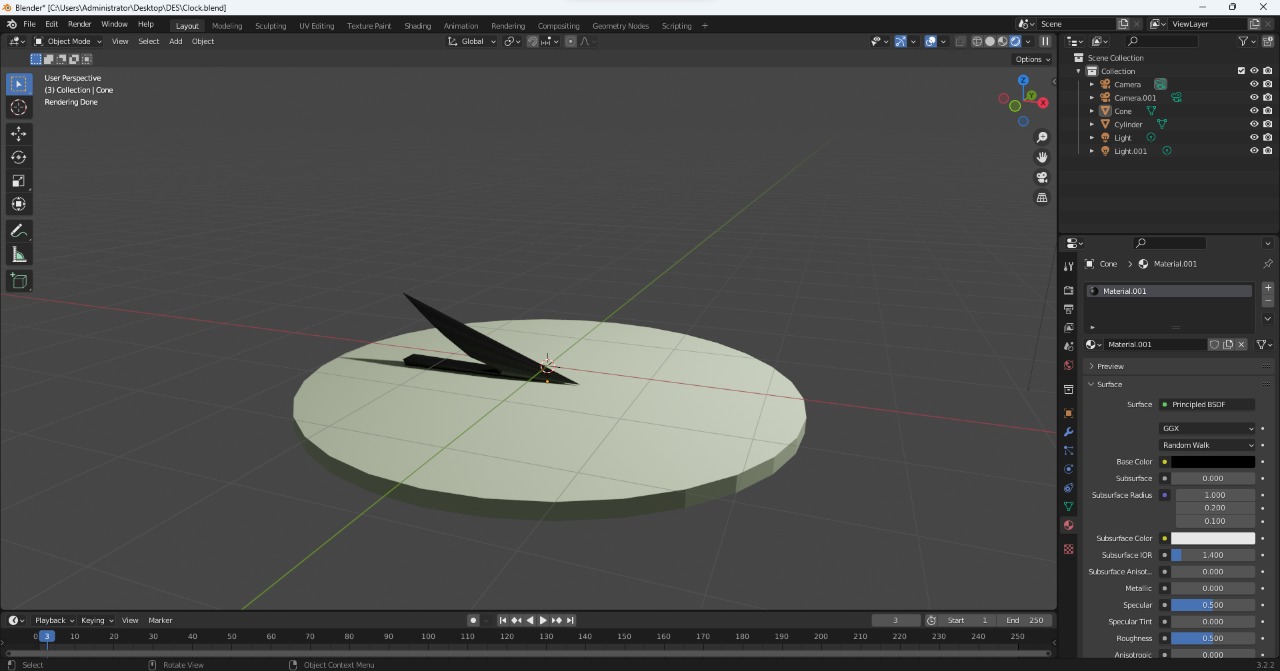
- I decided to use a cylinder model to simulate how the sun would cast its shadows on a full day and night cycle.
- The shadows depicted linear movement (motion on a straight line), unlike the sundial, which roughly works like a clock, and the dial rotates in a clockwise fashion.
2.5 Recreating paper prototype in Blender
- Using the drawings and dimensions in paper prototype we created the parts of Samrat Yantra.
- As we created each part individually and later scaled them back, the final model was not in proportion.
- The problem was then solved using accurate dimensions calculated from the pdf.


3.0 Week - 3
In this week we were expected to start working the UX that our project had to offer.
- For this we were expected to give the day/night cycle and camera controls to the user as well as allow the user to input any time to check the shadow configuration at that time.
- We also decided to replace the existing cylinder that depicted the sundial with an actual sundial model along with proper sundial markings.
- Some people began working on the game’s UI as well.
3.1 Sundial Model
- A sundial was modeled based on refrence dimensions that we obtained online.
- It was quite surprising to see that the shadows were rotating perfectly just due to the shape of the dial while keeping the rotation pattern of the sun same as before.
- Add cyl vs sundial and model img here.
3.2 Day/Night Cycle & Camera Controls
- Unity’s default input system was used to take the input of the players.
- The horizontal axis was assigned to the rotation of the camera whereas the vertical axis was kept responsible for the day/night cycle.
- A dedicated prompt was shown on the screen to inform the users about the same.
3.3 Custom Time Input
- I used the Text Mesh Pro input box to take inputs from the user.
- I limited each text box to take 2-digit integer inputs (HH & MM format).
- This value was used to assign a custom time value that users could input to check the behavior of the sundial at that particular time.
4.0 Week-4
In this week we worked upon the UI & UX.
4.1 Designing the UI
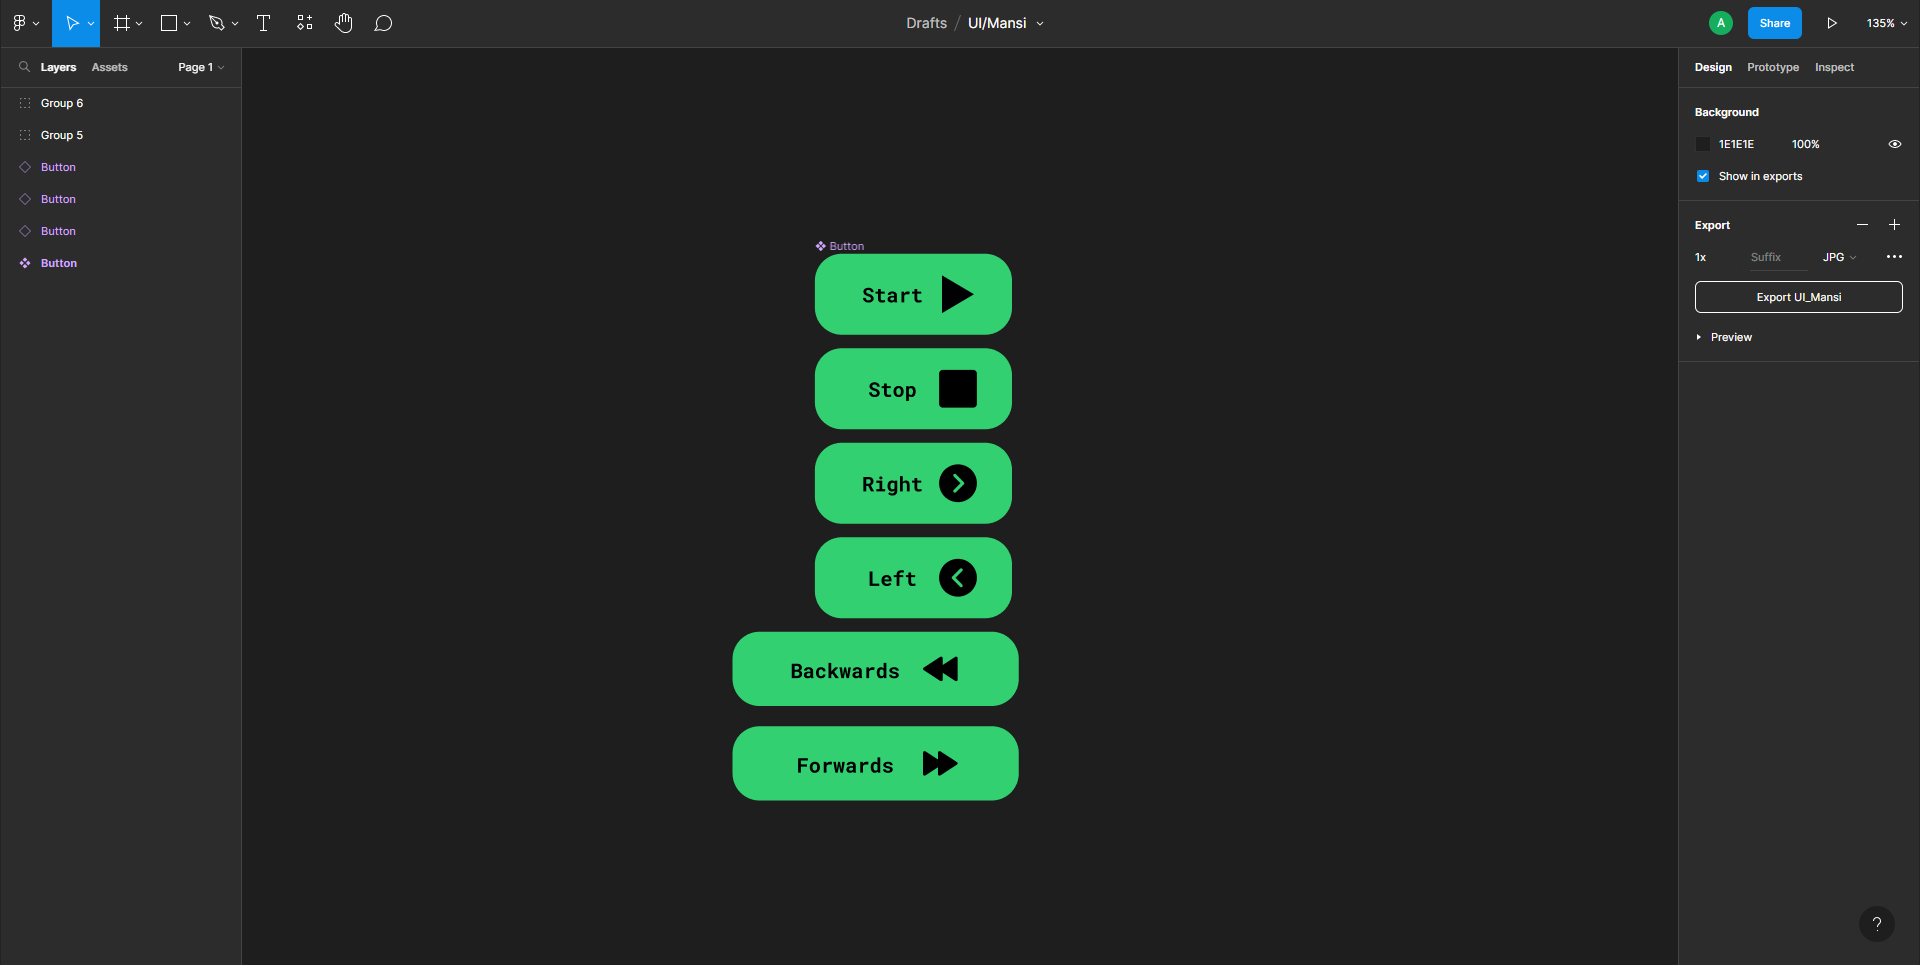
- The UI for the project was designed using Figma.
- The icons were given a contrasting color with respect to the black and blue sky hue and they were provided with a drop shadow as well.
- The edges were kept rounded to give it a material look.
4.2 Implementing the UI in project
- The UI was implemented over the canvas component provided by Unity to replace keyboard inputs with Touch/Click inputs. It Included-
- A Start/Stop Button
- A Slider
- A Left/Right Button
- A Forward/Backward button
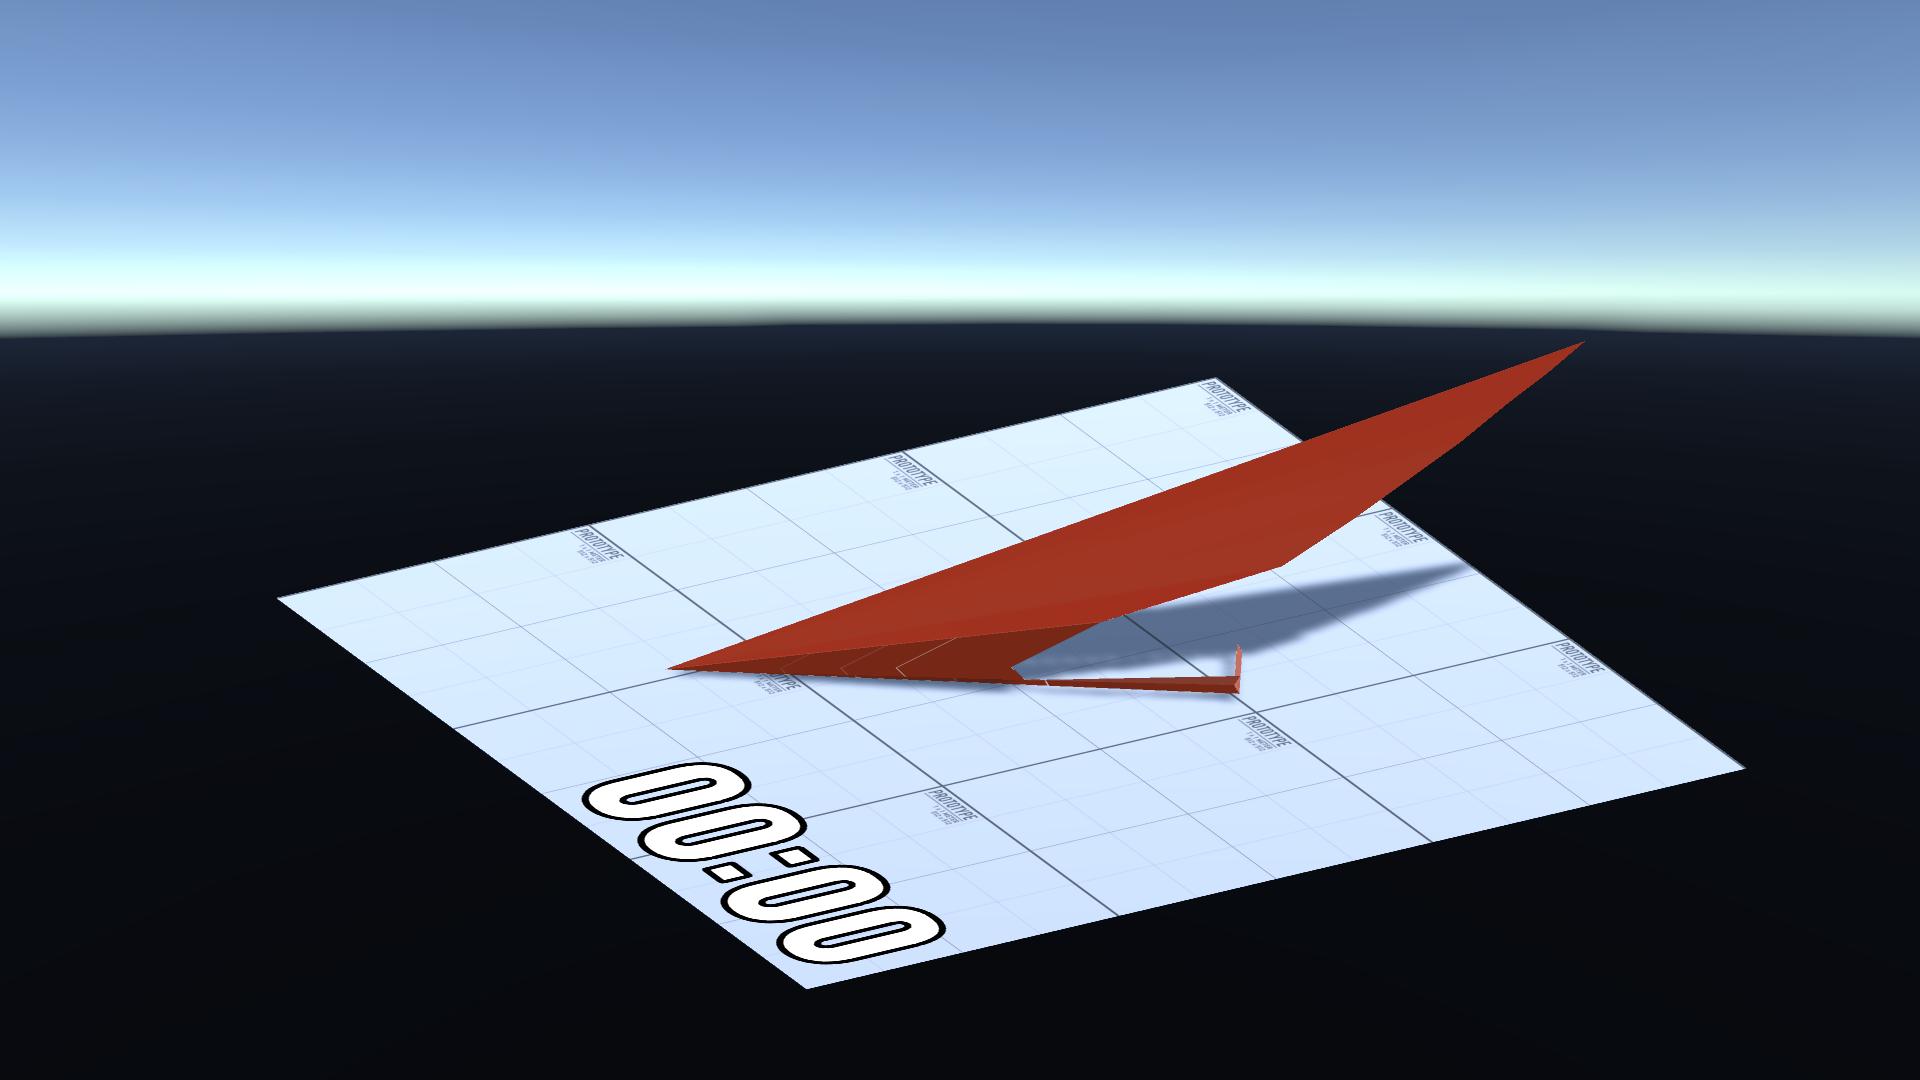
- The Start/Stop button was used to play and pause the simulation.
- The Slider was used to rotate the camera angle (with step wise increment/decrement aided by the Left/Right button).
- The Forward/Backward button used to speed up or reverse the process.
5.0 Week-5
In this week, we began working upon the login system.
5.1 Home & Sign Up Page
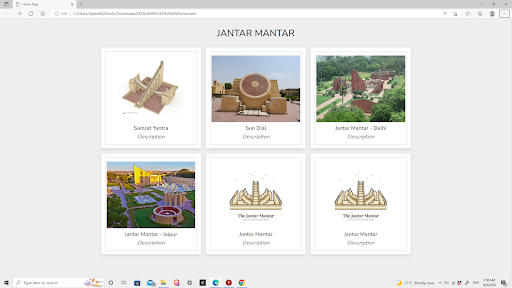
- Created a menu for selecting the yantra user wants to explore.
- Created icons for selecting the yantra user wants to explore.
- A
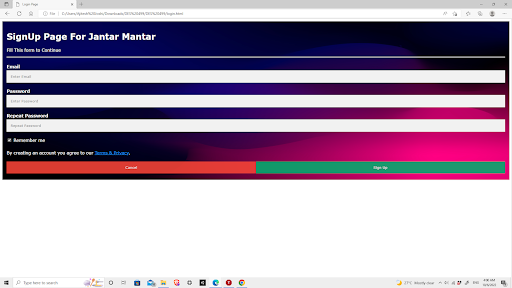
sign-upPage opens user selects a yantra. - The
home.htmlpage consists of containers, each representing a yantra having a classproduct-container, with reference tologin.html. - The webpage requires one-time signup.
- The orientation of the
login.htmlpage is styled using css. - Js script with an event listener is linked to signup element.
- The event listener sends data using POST request to the google sheet.
5.2 Login Information
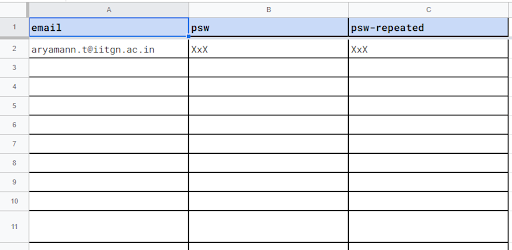
- The login details of users are stored in a google sheet.
- In further iterations the details will be stored in a database.
- The database will also be used for saving user preferences such as, camera and lightning setups.
6.0 Week-6
In this week, we were expected to convert the Unity project into a web-based experience and integrate it with the our SignUp page. Apart from this, we were also expected to come up with precise models of the Yantras and integrate them within our project.
6.1 Exporting the Project to Web
- The Unity project was optimized and revamped to be exported to the Web as a WebGL experience.
- The project was hosted online using Github Pages and can be accessed here.
- All compressions on the build were disabled and they generally raise conflicts while getting decompressed on the Jekyll framework that GitHub Pages use.
- Code was optimized to give preference to speed over size in the final build.
- The homepage was renamed to
index.html(naming convention for homepages on Github Pages). - The yantras were linked to the
jantar-mantar-experience.htmlin our build. - We further plan to use Firebase Authentication to only provide private sessions to the users who Sign Up for the experience.
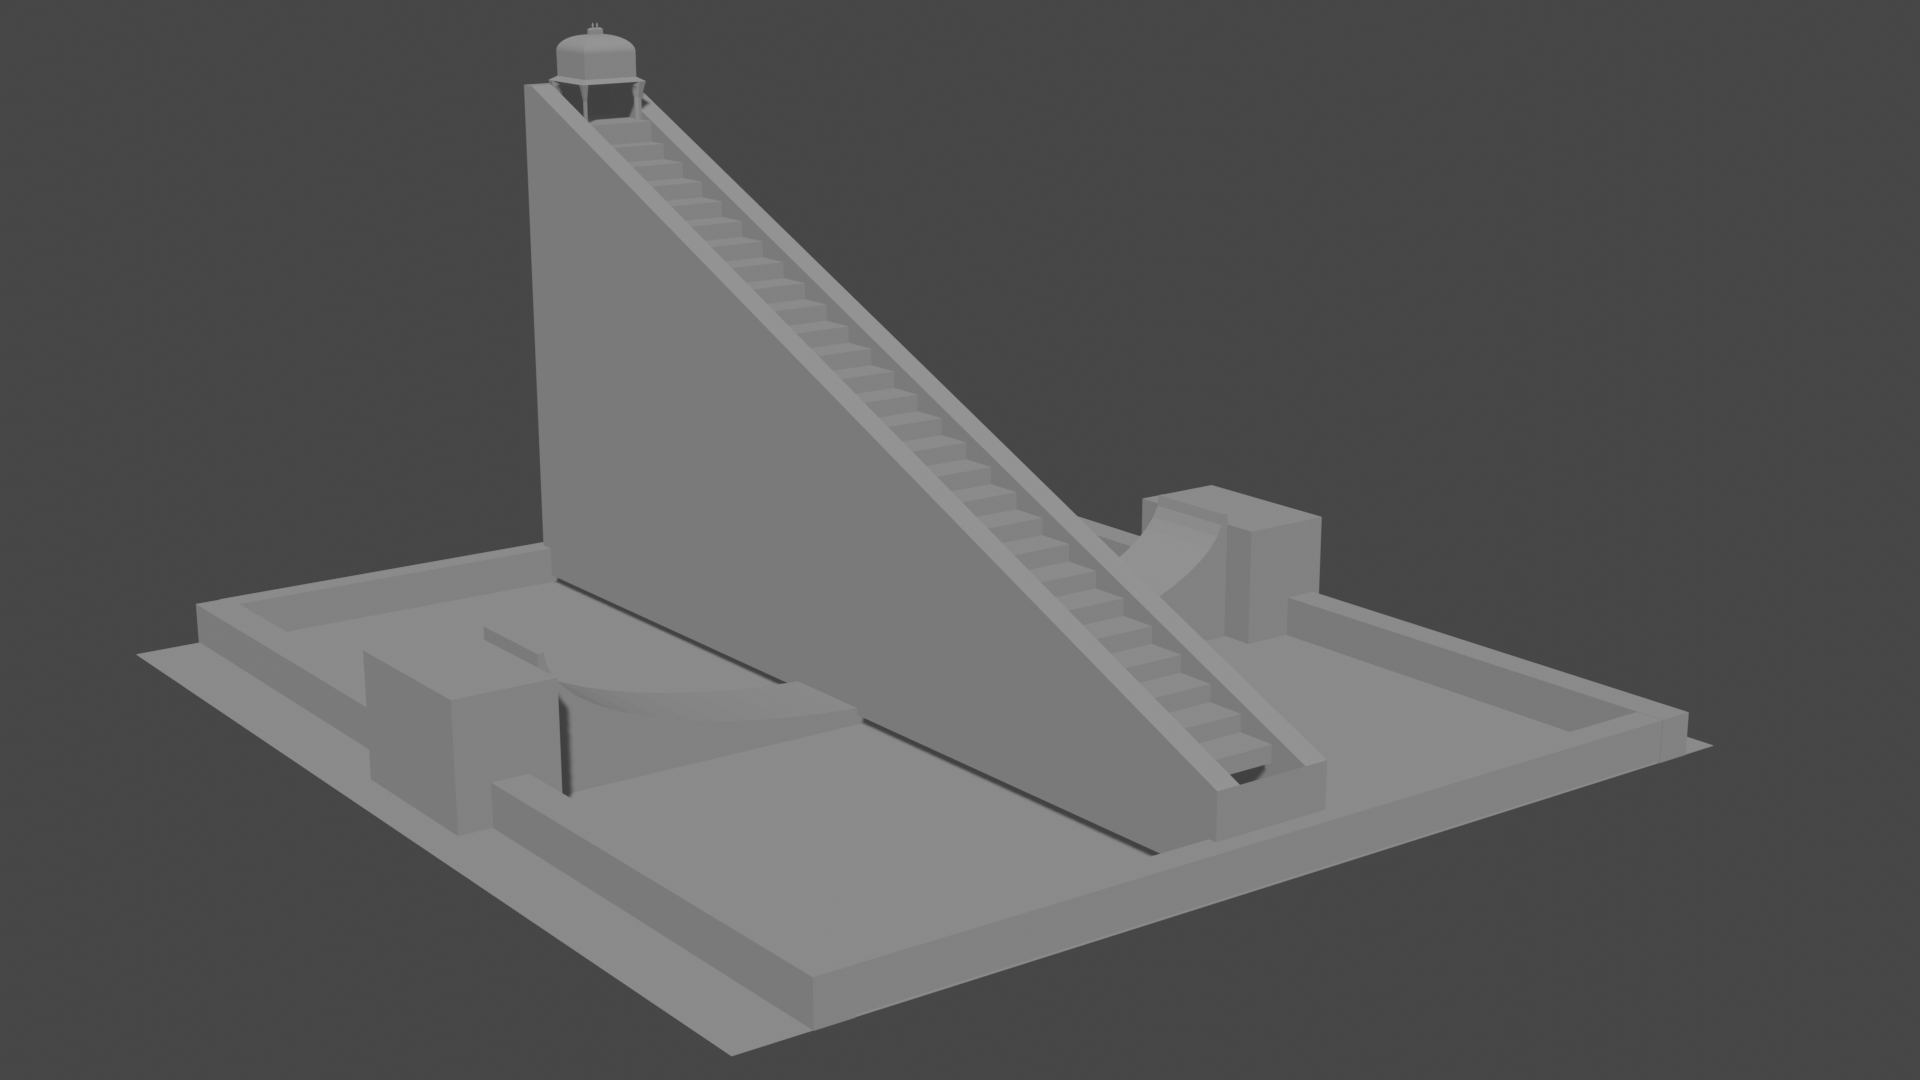
6.2 Precise models of the Yantras
- First, the dimensions of the model were calculated by Ajitesh.
- The base of the model was made by Shubham using the dimensions provided by Ajitesh.
- After referring to the PDF provided by sir, we found difficulty in coming up with precise models of the block.
- We tried certain adjustments, scaling and fitting the side block on the base of the yantra.
- The curves of the yantras was quite difficult to make, due to its precision levels.
- We made the curve long enough to pass through the pyramid of the yantra while maintaining the precision standards of our model after multiple adjustments (even though they were not precise in the PDF itself)
- The center pyramids along with the staircase was similarly designed using the iterative adjustment process mentioned above.
